Email triggers allow you to automatically send an email to specified recipients when their survey response is submitted.
Creating an Email Trigger
To create an email trigger:
- Within the Build tab of your survey, click the Email Triggers button located in the white navigation bar on the left of the screen
- Click the blue Add Email Trigger button then select Create From Scratch from the drop-down menu
- Fill in the details for Reply Email Address and To Email. Use a semicolon to separate email addresses if you want to send the email to multiple recipients
- Add your email subject header to the Subject box
- Add the email content in Body
- Optionally, check Include survey response as PDF attachment to send the recipient a copy of the survey answers
- Click the green Save Email Trigger button
Deleting an Email Trigger
To delete an email trigger, open the Email Triggers dialog by clicking the Email Triggers button in the white nav bar to the left of the page from within the Build tab and click the edit button for the trigger you want to delete. Scroll down to the bottom and click the Delete Email Trigger button:

Using Piping in Email Triggers
You should be careful using piping for email triggers since failures are not notified and you will only know of failure when expected emails do not arrive. Piping cannot be verified at Design Time so it is up to you to make sure only valid content is piped into your trigger.
You can use piping to import information into the To Email, Subject and Body fields of an email trigger. For example, you could automatically populate the To Email field with the respondent’s email address.
If piping causes your Subject to be longer than 200 characters, it will be truncated internally before the email is sent.
Information can be piped from your contact list, your survey answers, and survey variables (including custom variables). Under any field click Insert Piping and select the variable you want to use from the drop-down menu.
Following on from the example above, the steps to use an email address as a custom variable for your survey in a triggered email are below:
- Under To Email, choose Email Address from the insert piping drop down menu
- Click Insert
- [contact(email)] will appear in the To Email box
Conditional Email Triggers
You can make an email trigger conditional on the answers to particular survey questions, metadata, or combinations of both by using the conditional email triggers option.
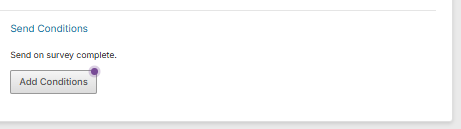
To set conditions for a trigger to send, click "Add Conditions" in the lower-right of the trigger setup page.
This will open a dialogue essentially identical to that for Display Logic. Choose any combination of metadata and answers to questions to set the conditions under which the email will send. if the conditions are not met, then the email will not send.
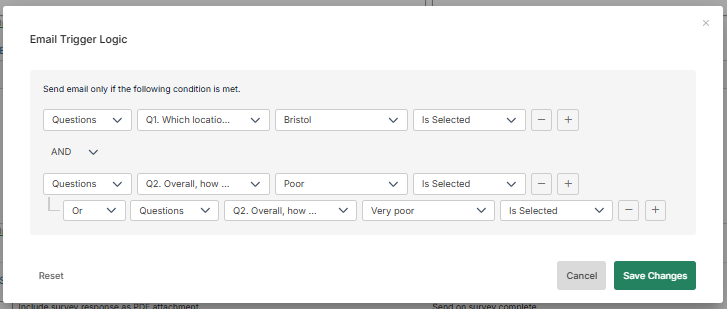
In the above example, we've set up an email that will only send to people who visited Bristol, and said their experience was "poor" or "very poor".
For detailed information on creating rules, see the Display Logic guide.
Click "Save Changes" to save your conditions.
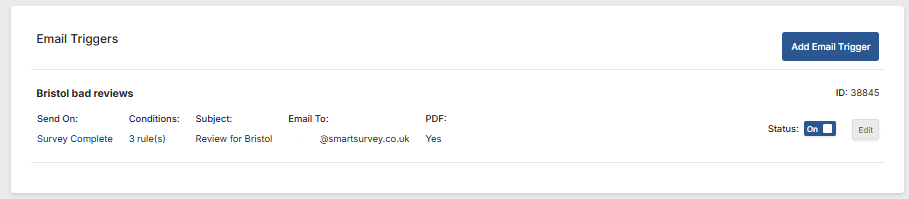
Once saved, the fact a trigger has conditions set will be shown in the trigger list: