The Date/Time Box makes it easy for your respondent to provide a date and/or time and ensures that all responses are captured in a standardised format. There are three possible formats: Date Only, the Time Only, or both Date and Time.
Sync it with your Diary - Why not consider using our API to link SmartSurvey to your Calendar so the appointment is automatically added as soon as someone submits their response?
Creating Date/Time Box Questions
To create your date/time question:
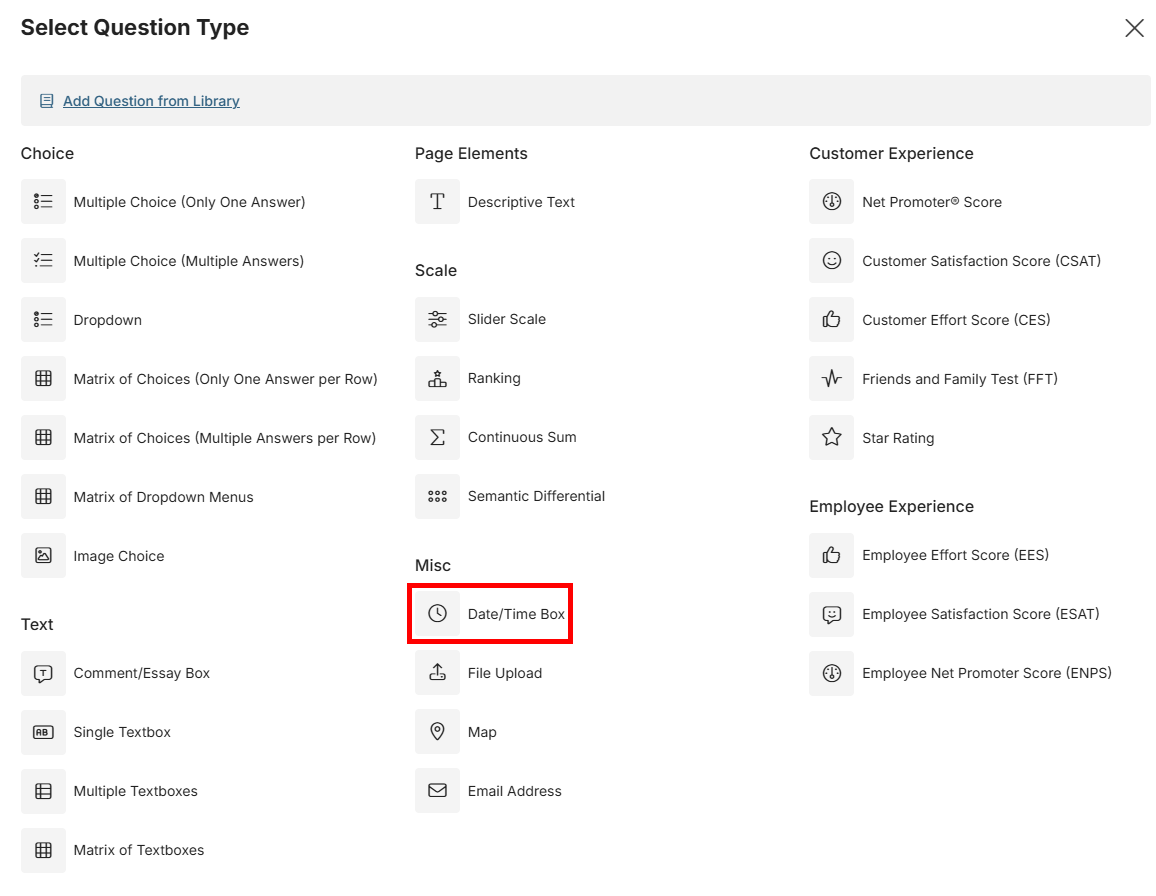
- Click Add Question on your survey.
- From the menu, select Date/Time Box.
- Type your question in the Question field.
- In the Display drop-down, select Date Only, Time Only, or Date and Time.
- In the Format drop-down, select the date format you wish to use.
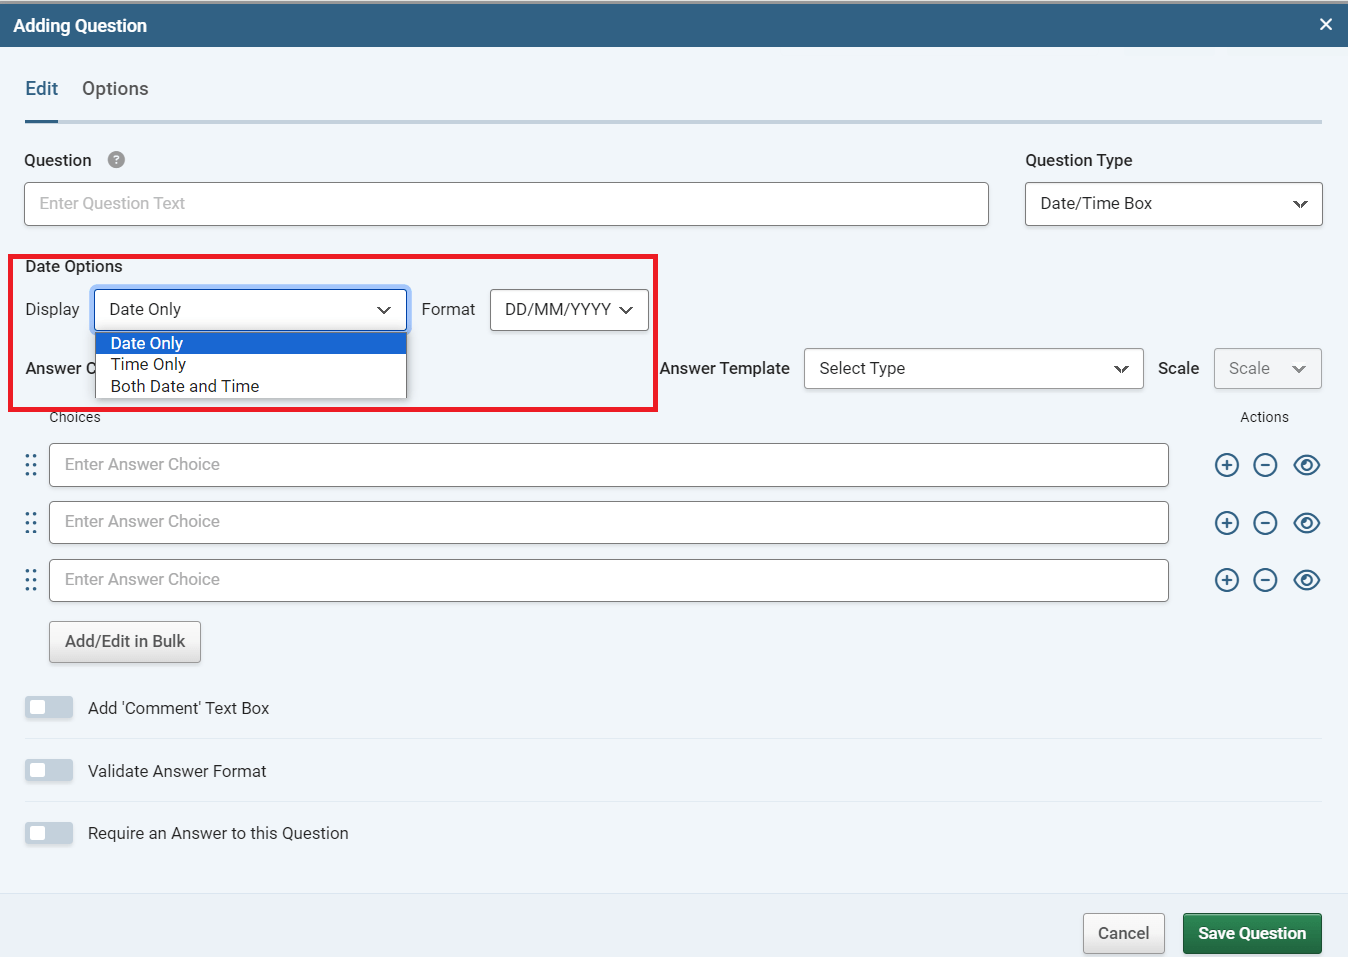
- Then in the Answer Choices fields you can enter each choice which will be accompanied by a Date/Time Box selector.
- Click the green Save Question button to add the question to your survey.
If you select a Display type of Time Only, the system will ignore the date format in the Format drop-down list.
Sub-headings
Click the "Insert Heading" button (next to "add/edit in bulk") to add an option as a Sub-heading. Sub-headings are editable, and can be moved in the order of options, but cannot have a date or time entered by respondents. Options added as subheadings are marked with an "H" Icon.
Customising Date/Time Box Questions
When you build a Date/Time Box question, you can customise it with the following additional fields and options:
| Add "Comment" Text box |
Adds a free text field underneath the question. |
| Require an Answer to this Question |
Forces the respondent to select an answer before they can progress to the next page. |