About Shared View Links
It’s possible to create a share link for any view that you’ve applied to the summary report.
When the link is opened. The report will open with all the settings of the view applied – Display Options, Filters, and Question Hide / Show settings. These will not be editable by the viewer, allowing you to share only those survey elements you want to, and not display anything you do not wish to display.
A password can also be applied for additional security.
Creating a Shared View Link.
- Firstly select the View you wish to share. For help on creating and saving views, see this guide.
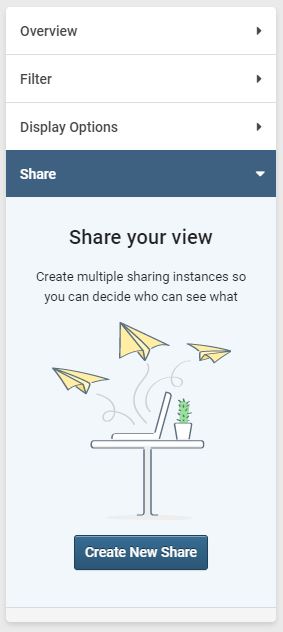
- From the menu on the left of the page, click the “Share” option. This will open an expander.
- Click “Create New Share”. to create your link. A pop-up will open.
Configuring the new Share
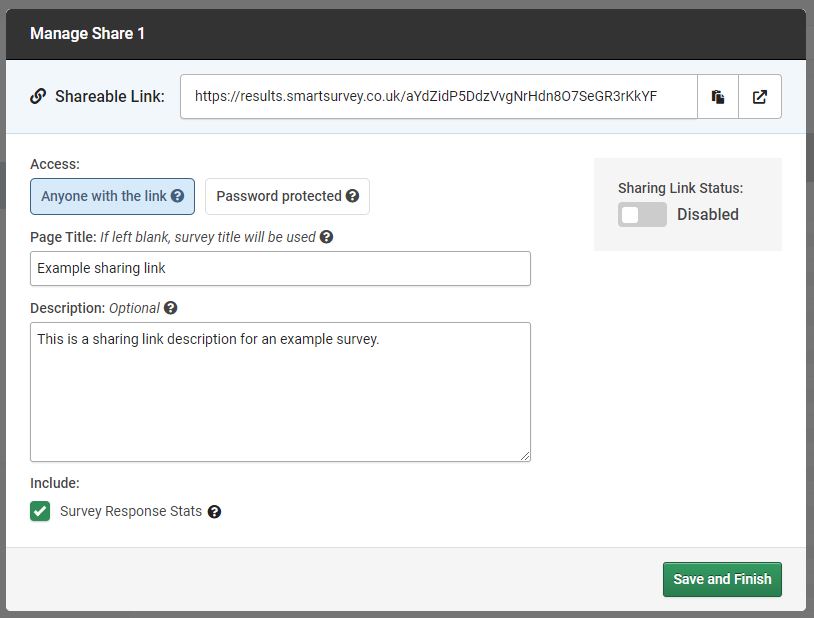
- Complete the pop-up box to complete the setup of your new Share.
- The options are:
- Access: This can be “Anyone with the link”, or “Password protected”. Click on your desired option. If “Password Protected” is chosen, an additional box will appear where you can define the password.
- Page Title: This is the title of the page that will be shown to visitors viewing the Share. If left blank, the survey title is used.
- Description: This is an Optional area where you can add a brief description of the Shared report, for viewers.
- Include Survey Response Stats: Check this to include the details of the Total, Completed, and Partial responses collected by the survey. These values will be affected by any applied filters.
- After you’ve finished configuring the share, click “Create Sharing Link”.
- You will now see a bar at the top of the pop-up with the shareable link in it. Next to the shareable link are options to copy the link to the clipboard or to visit the link directly.
- Another option will now be visible, Sharing Link Status. This is a toggle to enable or disable the share. If you need to stop access to the share, but not remove it entirely, set this to Disabled.
- When you are happy with the Share, click Finish.
Managing Sharing Links
Once you have created your share, the contents of the Share expander will now show you the shares that have been created for the currently selected view. Each share will be given a name, by default this is “Share X” where X is the ordinal number of each share created for that view.
NOTE: Because the contents of the Share drop-down are dependent on the selected view, it possible, and in fact likely, that a survey with multiple views and shares will have more than one “Share 1” (for instance). Be aware of this when you need to make changes. View first, then share.
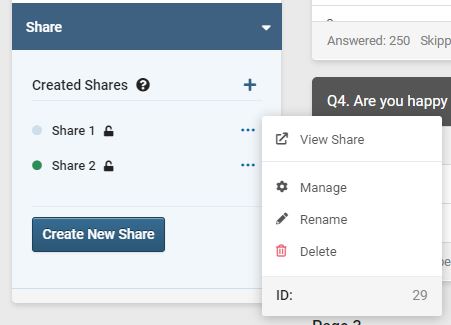
Next to each share in the list is a three-dot icon, which will open options for that share. These are:
- View Share: Open the share link like you’re a viewer.
- Manage: This will open the popup with the sharable link, the Title / Description settings, Enable / Disable Toggle, Password options, and response data options.
- Rename: Give the Share a new name.
- Delete: Delete the Share.
Updating Views with Shares Already Created
If you have a view that has shares already created on it, and you then update the settings for that view, anyone accessing a share for that view will have the new view settings applied.
Example: Arthur creates a new view for his survey, and hides question 1 from the view. He then creates a Share (Share 1) and gives the link to Tricia. When Tricia visits the link, Question 1 is hidden from the report. Arthur then changes the view so that Question 1 is unhidden, and Question 2 is hidden, and saves the changes. He does not create a new Share or update Share 1. When Tricia visits the Share 1 link again, Question 2 is hidden.
Branding Your Sharing Link
If you have the approriate account level, you can brand your sharing links. For details on the available options and how to use them, see this guide: Branding a shared view link.